Migrating Immich Application (SNAP) to a New Server
Immich migration to the new server is a process that requires careful planning and execution to ensure that both the application’s database and media files are transferred successfully. Immich is a self-hosted photo and video storage solution that helps users manage their media efficiently. If you’re running Immich as a SNAP package and need to migrate it to a new server, it’s essential to back up your data, install the application on the new server, and restore your files and database correctly to avoid any data loss.
Immich is a powerful open-source solution for self-hosted photo and video storage, providing users with efficient media organization and sharing features.
This guide will walk you through the step-by-step process of migrating an Immich installation to a new server. We will cover how to back up the database and media files, install Immich on the new system, and restore everything to get Immich running smoothly.
Step-by-Step Guide to Migrating Immich to a New Server
Before starting the migration of the Immich application to a new server, ensure the following prerequisites are met:
- Backup: Make sure to create a complete backup of both the database and media files using Immich’s built-in backup commands. This is crucial, as it ensures you have a restore point in case anything goes wrong during the migration process.
- Server Requirements: The new server must meet the necessary hardware and software requirements for running Immich, including adequate storage and network configuration.
- SNAP Package: Ensure that the SNAP package manager is installed on the new server so you can install Immich without any issues.
Step 1: Create a Immich Backup on the Old Immich Ubuntu Server
Before migrating, it’s crucial to back up both the database and files to prevent any data loss.
You have the following options using immich-distribution.backup command:
root@ubuntucore:/var/snap/immich-distribution/common/backups# immich-distribution.backup
/snap/immich-distribution/174/bin/backup [-d] [-a]

-d      Backup database
-a      Backup assets (images, videos, ...)
-l      List backups

The recommended way to backup Immich is to do a database backup, and then manually backup the assets directly from /var/snap/immich-distribution/common/upload
Create a Database Backup
Run the following command to back up the Immich database:
immich-distribution.backup -dLocation of the backup files:
/var/snap/immich-distribution/common/backupsCreate a Media Files Backup
To create asset backup from Immich server you have to options:
- Use
immich-distribution.backupoption: it was very slow for me - Manually copy the files to the new server
Option 1: Immich Asset Backup
Back up the Immich assets (photos and videos) using:
immich-distribution.backup -aFiles are located on the following location:
/var/snap/immich-distribution/common/backupsIMPORTANT: In my case, this operation is very slow. The process is using just one CPU!!!
To ensure the backup continues running even if the session is lost, I executed it using nohup:
nohup immich-distribution.backup -a > /home/user/backup-asset-try2.log &
Option 2: Manual Files Backup -> In my Case Faster Way
Step 1: Navigate to the /var/snap/immich-distribution/common/upload/
Content of the folder:
backups
encoded-video
library
profile
thumbs
upload
Step 2: Copy files to the new server
scp -r /var/snap/immich-distribution/common/upload/{*,.*} user@[IP_ADDRESS_OF_NEW_SERVER]:/home/user/You can just copy evrything from the /var/snap/immich-distribution/common/upload/ location to the new server. It is faster operation.
In this case you can just restore Database on the new server and move this data to the same location on the new server.
Step 2: Copy Backed-up Files to the New Ubuntu Server
Once the backup is complete, transfer the backup files to the new server using SCP:
scp * new_server_user@[IP_ADDRESS_OF_NEW_SERVER]:/home/userReplace new_server_user and [IP_ADDRESS_OF_NEW_SERVER] with your actual server username and IP address.
Step 3: Install Immich on the New Server
Before restoring the backups, install the Immich application on the new server using the SNAP package manager:
snap install immich-distributionCheck Immich Version and update old server if needed:
snap listOutpu of the command is something like:
Name                 Version        Rev    Tracking       Publisher   Notes
immich-distribution  v1.124.2       174    latest/stable  nsg         -
Step 4: Move Backup Files to the Correct Directory
On the new server, navigate to the user’s home directory and copy the backup files to the Immich backup location:
Adapt permissions for the copied files:
cd /home/usersudo chown -R root:root immich_assets_v1.124.2_2025-01-31T090234.tar.xzThen, copy the backup files to the Immich backup directory:
cp immich_* /var/snap/immich-distribution/common/backups/Step 5: Stop the Immich Application
Before restoring the backups, stop the Immich service to prevent any conflicts:
snap stop immich-distributionStep 6: Restore the Database
Run the following command to restore the database backup:
cd /var/snap/immich-distribution/common/backups/immich-distribution.restore -y -d immich_database_v1.124.2_2025-01-31T114826.sql.xzMake sure to replace the filename with the actual database backup file you created earlier.
Step 7: Restore Media Files
Option 1: Immich Asset Backup/Restore
1In case you are working with asset backup:
Now, restore the backed-up media files:
cd /var/snap/immich-distribution/common/backups/immich-distribution.restore -y -a immich_assets_v1.124.2_2025-01-31T114919.tar.xzAgain, replace the filename with the correct one from your backup.
Option 2: Manual Files Backup/Restore
In case that you copy all files from the old server location /var/snap/immich-distribution/common to the new servr, just move these files the the same location on the new server.
cd /home/user/upload
cp -r * /var/snap/immich-distribution/common/upload/
Change permissions:
sudo chown -R root:root /var/snap/immich-distribution/common/upload
sudo chmod -R 755 /var/snap/immich-distribution/common/upload
Step 8: Start the Immich Application on the New Server
snap start immich-distributionThis will initialize Immich with the restored database and media files.
Step 9: Open Immich Application in Browser
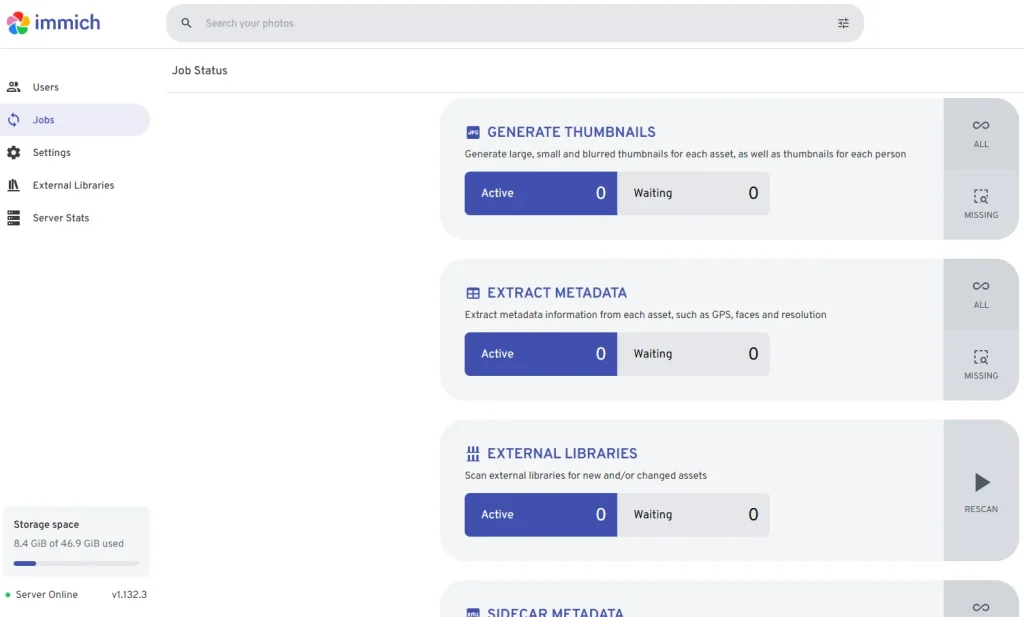
If the images are not displaying, generate new thumbnails. In this case, they were not copied from the original server.

Conclusion
Migrating Immich to a new server is a straightforward process if done corrReectly. By following these steps, you can ensure a seamless transition without losing any photos or database information. Regular backups are essential for maintaining data integrity, so make sure to perform them frequently to prevent data loss in case of unexpected failures.
If you found this guide helpful, consider sharing it with others in the self-hosted community!


